Installing the Window Dryer Vent
Get the Right Fit (Seriously, Measure First)
We’re sure you already know this, but it’s worth saying anyway: confirm your window width before committing to a vent. It’s the easiest way to get the right fit.
Take a quick measurement of the width (left to right) inside the window opening to make sure you get the right size vent for your setup. Every window’s a little different, and this simple step saves you the hassle of returns or a less than perfect fit.

Installation: Step-by-Step Instructions
Watch this quick video then follow the step-by-step instructions below.
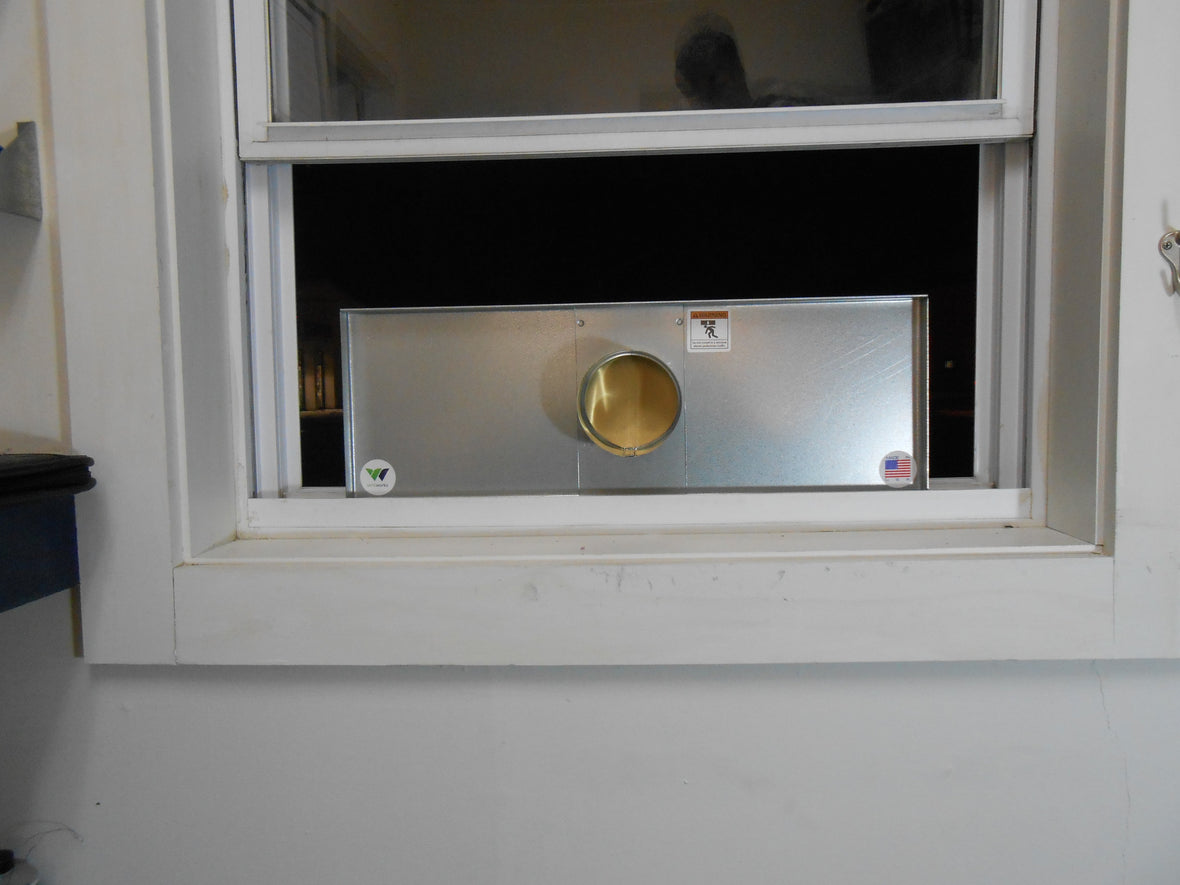
Step 1- Place the vent in the window.

Step 2 - Adjust the side panels by sliding the panels out toward the window edges.


Step 3 - Close the top window down onto the window dryer vent, make sure its securely in the window.

Step 4 - Attach ducting.
Once the vent is fixed in place, you can connect the duct.
Tip: To ease the process of attaching foil flex duct to the collar of the vent, extend, unwrinkle, and flatten out the first 2 to 3 inches of the foil flex before putting it on the duct collar.


The duct can be secured to the collar using worm clamps, tension clamps or aluminum foil tape, as well as other options.
 Note: Do not use duct tape. Although the name implies you could use it for ducting, it's actually not approved for use on dryer ducts!
Safety
The Window Dryer Vent is designed for safe, reliable use but like any venting setup, a few key safety guidelines make all the difference.
Follow these simple precautions to make sure your vent performs safely and efficiently.
-
Avoid overhead installations. Do not install the WDV in a window directly above a street, sidewalk, or any area where property damage or personal injury could occur if the vent were to shift or fall.
-
Maintain safe clearance. Keep the vent at least 3 feet away from any other opening including windows, doors, and other vents. This prevents exhaust air from re-entering the building.
-
Prevent carbon monoxide exposure. Gas dryers release carbon monoxide. Make sure the vented window is fully closed onto the WDV and that no nearby openings allow exhaust to flow back inside.
Note: Your safety and proper airflow depend on these clearances being followed every time.

Insulation & Weatherseal (Optional)
The Window Dryer Vent (WDV) is built to handle tough conditions: rain, snow, heat, and everything in between. Its heavy gauge galvanized steel construction provides strong protection against rust and corrosion, keeping it dependable year-round even in harsh climates.
Out of the box, it performs great in all conditions. But depending on where you live and how you’re using it, you may want to go one step further by adding insulation or weather sealing. It’s simple to do with foam board, fiberglass, or denim insulation, and it can help reduce drafts and improve energy efficiency.
Want to see exactly how it’s done? Check out our full guide: How to Insulate the Window Dryer Vent


Securing the Window Dryer Vent (Optional)
The window dryer vent can be used as a temporary or as a long term solution. If your only putting it in the window when in use you probably don't want to insulate it and you won’t need to secure it with screws.
Depending on your location and how you plan on using the WDV you might want to secure it in the window as a more permanent solution. There are multiple options to secure the vent in place including putting screws through the side panels into the window casing, using window locks, window
There are multiple types of window locks. The images below are just examples of three different types of window locks, if your interested in window locks you will have to research to find the type that will work best for your situation.

