Insulating the Window Dryer Vent
We designed the Window Dryer Vent so it could be permanently installed or be put in the window when in use and removed when not. If you're going to be using the window dryer vent as a permanent solution and you live in harsh climates, we suggest you use insulation. Foam board or blanket insulation works well and is available at most home improvement stores.
In this article, we show how to insulate the window vent with rigid foam board insulation which is our preferred method. We then describe insulation effectiveness, briefly explain three common types of insulation, and end by describing how to adequately weather seal the vent.
We are in no way advising that you use specific brands or that you should purchase from certain suppliers. We are just giving you an example to provide a clear view of appearance, cost and availability.
Step by Step Guide on How to Insulate with Rigid Foam Board
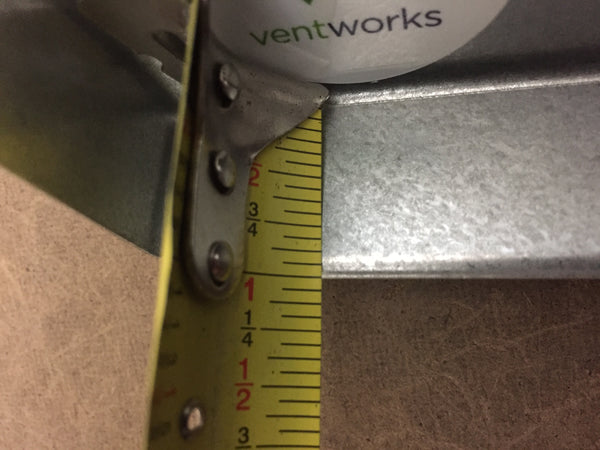
Step 1 Open your window and place your Window Dryer Vent in the window track, pushed all the way to the right. Make sure the side panels are fully collapsed. Unless your window fits the vent exactly, there will be a gap between the left side of the window track and the edge of the Window Dryer Vent panel. Measure this gap. For the example in the video our measurement 7-7/8".Step 2 Take the measurement from Step 1 and divide it in half. In the example from the video, 7-7/8" divided by 2 equals 3-15/16". Slide the side panel out so they each extend 3-15/16" from the main panel.
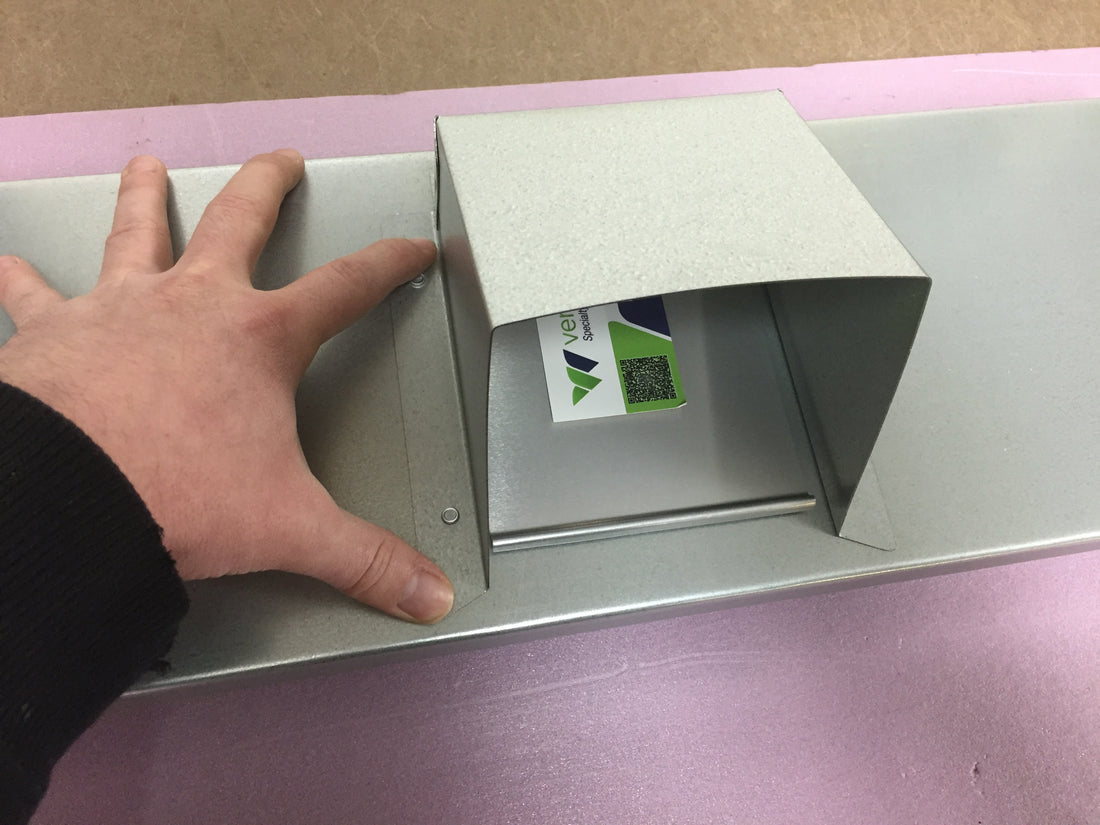
Step 3: Place the vent on the foam board, duct outlet facing down. Rotate the vent back and forth gently so that the duct outlet leaves an imprint.
Step 4: Using a blade, carefully cut inside the imprint made by the duct outlet. It will take several times going around to make a complete cut. Clean the hole of roughness and loose pieces with your hand.
Step 5: Slide the duct outlet through the hole you just cut for it. Center the vent on the foam board. Double check the side panels to be sure they are still extended the correct amount. Bring the vent and foam board to the edge of a table or a bench and set it down so that the duct outlet can overhang. Press down on all edges of the vent panel, leaving an imprint in the foam board.
Step 6: Carefully cut inside the imprint made by the vent panel. Use a straightedge to be sure your cut is accurate. Clean edges with your hand.
Step 7: Now that your piece of foam board is the correct size, slide it onto the back of your vent. Press down on all sides to make sure the foam board is fully seated in in the vent panel. That's it! You have an insulated Window Dryer Vent.
Note: If you plan to secure the vent by screwing through the side panels into the window casing, this has to be done before insulating. Follow all the steps in the video until the last step, which is the actual installation of the insulation. Secure the window vent in the window before you install the insulation in the fixed window vent.
Insulation Effectiveness
The effectiveness of insulation is measured by R-value; The higher the R-value, the greater the insulating power. To achieve a higher R-value the insulation manufacturers usually add more material, which means that the insulation will continue to get thicker as the R-value increases.
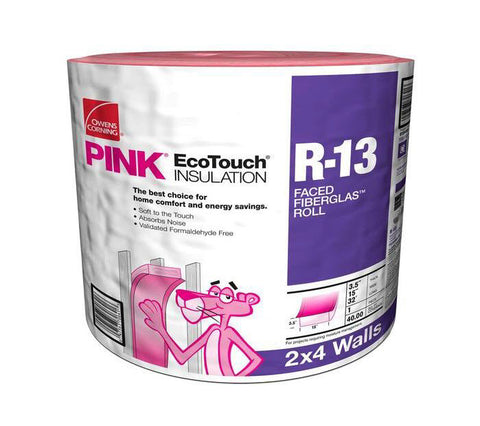
We have found that in most cases an R-value of 4 (R-4.0) is sufficient for insulating the Window Dryer Vent. To test insulation effectiveness, we have had a window dryer vent insulated with R-4.0 XPS foam board and weather sealed with open cell foam in a window since April 2015. Vent Works is based out of Massachusetts, a New England state with cold winters that require heating and hot summers that make it desirable to run air conditioners. Air flow testing reveals no significant heat loss or cool air escape using this insulation method.
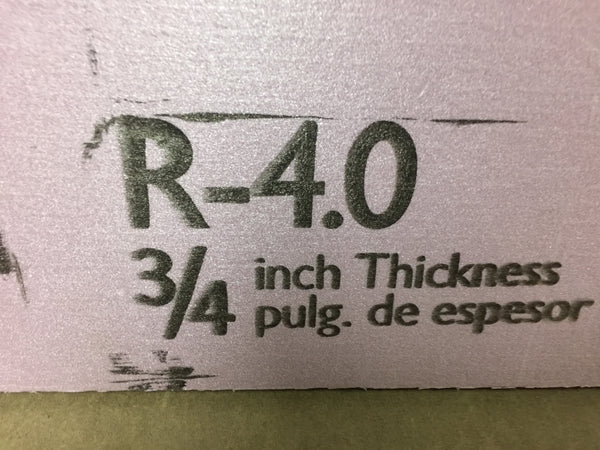
Image of R-4.0 XPS Foam Board Insulation
Types of Insulation
Foam Board Insulation
Foam board insulation is a type of rigid insulation that is easy to cut, form and fit so it works great for insulating the window dryer vent. This is the insulation method we have outlined in this article. We used 3/4 inch but you can find it in all different thicknesses.
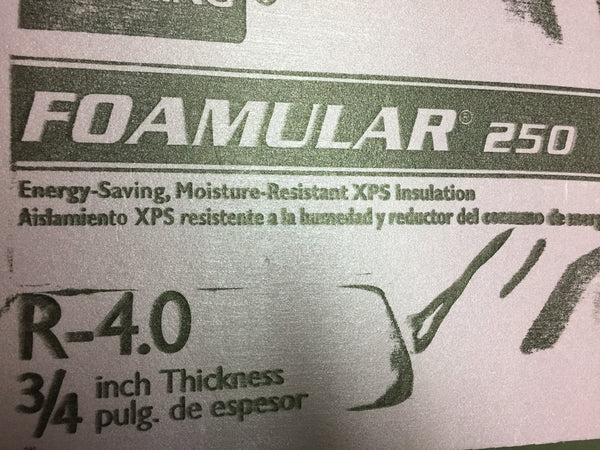
We choose 3/4 inch insulation because the inside lip of the vent is about 1 inch. You can use insulation that is thicker than the vent itself but it will be harder to cut and work with.
Although foam board is our preferred method, there are other insulation options listed below.
Fiberglass Insulation
There are three options when looking to purchase fiberglass insulation. They include blown in, rolls, and batts. Blown in insulation is not suitable for insulating a window dryer vent. Rolls and batts are most often used for home insulation. Rolls come in different thicknesses and lengths,while batts are pre-cut sections that usually come in a bundle. Fiberglass insulation is inexpensive, fairly easy to trim and work with, and has variable fire resistant properties depending on product specifics, including faced vs unfaced. Faced insulation is easier to handle but has slightly less fire resistance than unfaced. The biggest drawback to the use of fiberglass insulation is that it’s very irritating to the skin and lungs. On a positive note, most people have some of this insulation in their attic or basement; you could steal a small amount and use it to insulate the vent.

Denim Insulation
Recycled denim insulation is generally made with scraps left over from the manufacturing of denim clothing. Although this insulation is essentially cotton fibers, it’s usually treated with a solution that has a Class A fire resistance rating.
There are pro’s and con’s to using Denim insulation. This insulation usually contains 80% recycled material and absorbs sound well, about 30% better than traditional insulation. It’s flimsy, which makes it difficult to trim to size and attach to the vent, and it can cost up to twice as much as fiberglass insulation, for similar R-value.

Weather Sealing the Window Dryer Vent
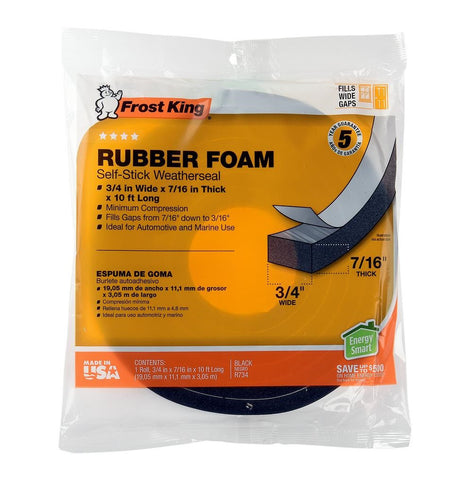
Because not all windows are the same, the window dryer vent may fit differently depending on your window. If there are any gaps between your window frame and the window vent, use foam gasket weather stripping. You can use foam weatherseal around the outer edge of the window vent or just in the areas where a gap needs to be filled. If you're using foam weatherseal to fill a gap make sure that you choose a foam that corresponds with the size of the gap, the foam must expand to fill the gap. If there are no gaps but you still want to weatherseal it, use a thinner foam around the outer edge of the entire window vent.
Open cell foam weather stripping is available from online retailers, hardware, home improvement, and big box stores. Below is a link followed by an image of the weather stripping we used.
Vent Works goal is to provide thorough and easy to understand information, in order to make your life easier. If you found this blog helpful, want to give feedback, or have any questions, please post in the comments section below!